Natural Wood Bathroom Vanity HMDCRTN

Herbert Portfolio Fox Group Construction Sophisticated bathroom
Apply the Stain: Stir the wood stain well before use. Apply a thin and even coat of stain using a brush or a rag. Start from one end and work your way across the vanity, following the grain of the wood. Allow the stain to penetrate the wood for the recommended time specified by the manufacturer.

Custom makeup vanity IL Custom bathroom vanity, Bedroom
After: One-of-a-Kind Vanity Makeover. With a coat of soft blue paint and new hardware on the vanity, the bathroom instantly feels brighter. Around the vanity, DIY wall paneling creates architectural interest. An intricate black mirror and a pair of sconces with customized shades help this bathroom feel extra special.
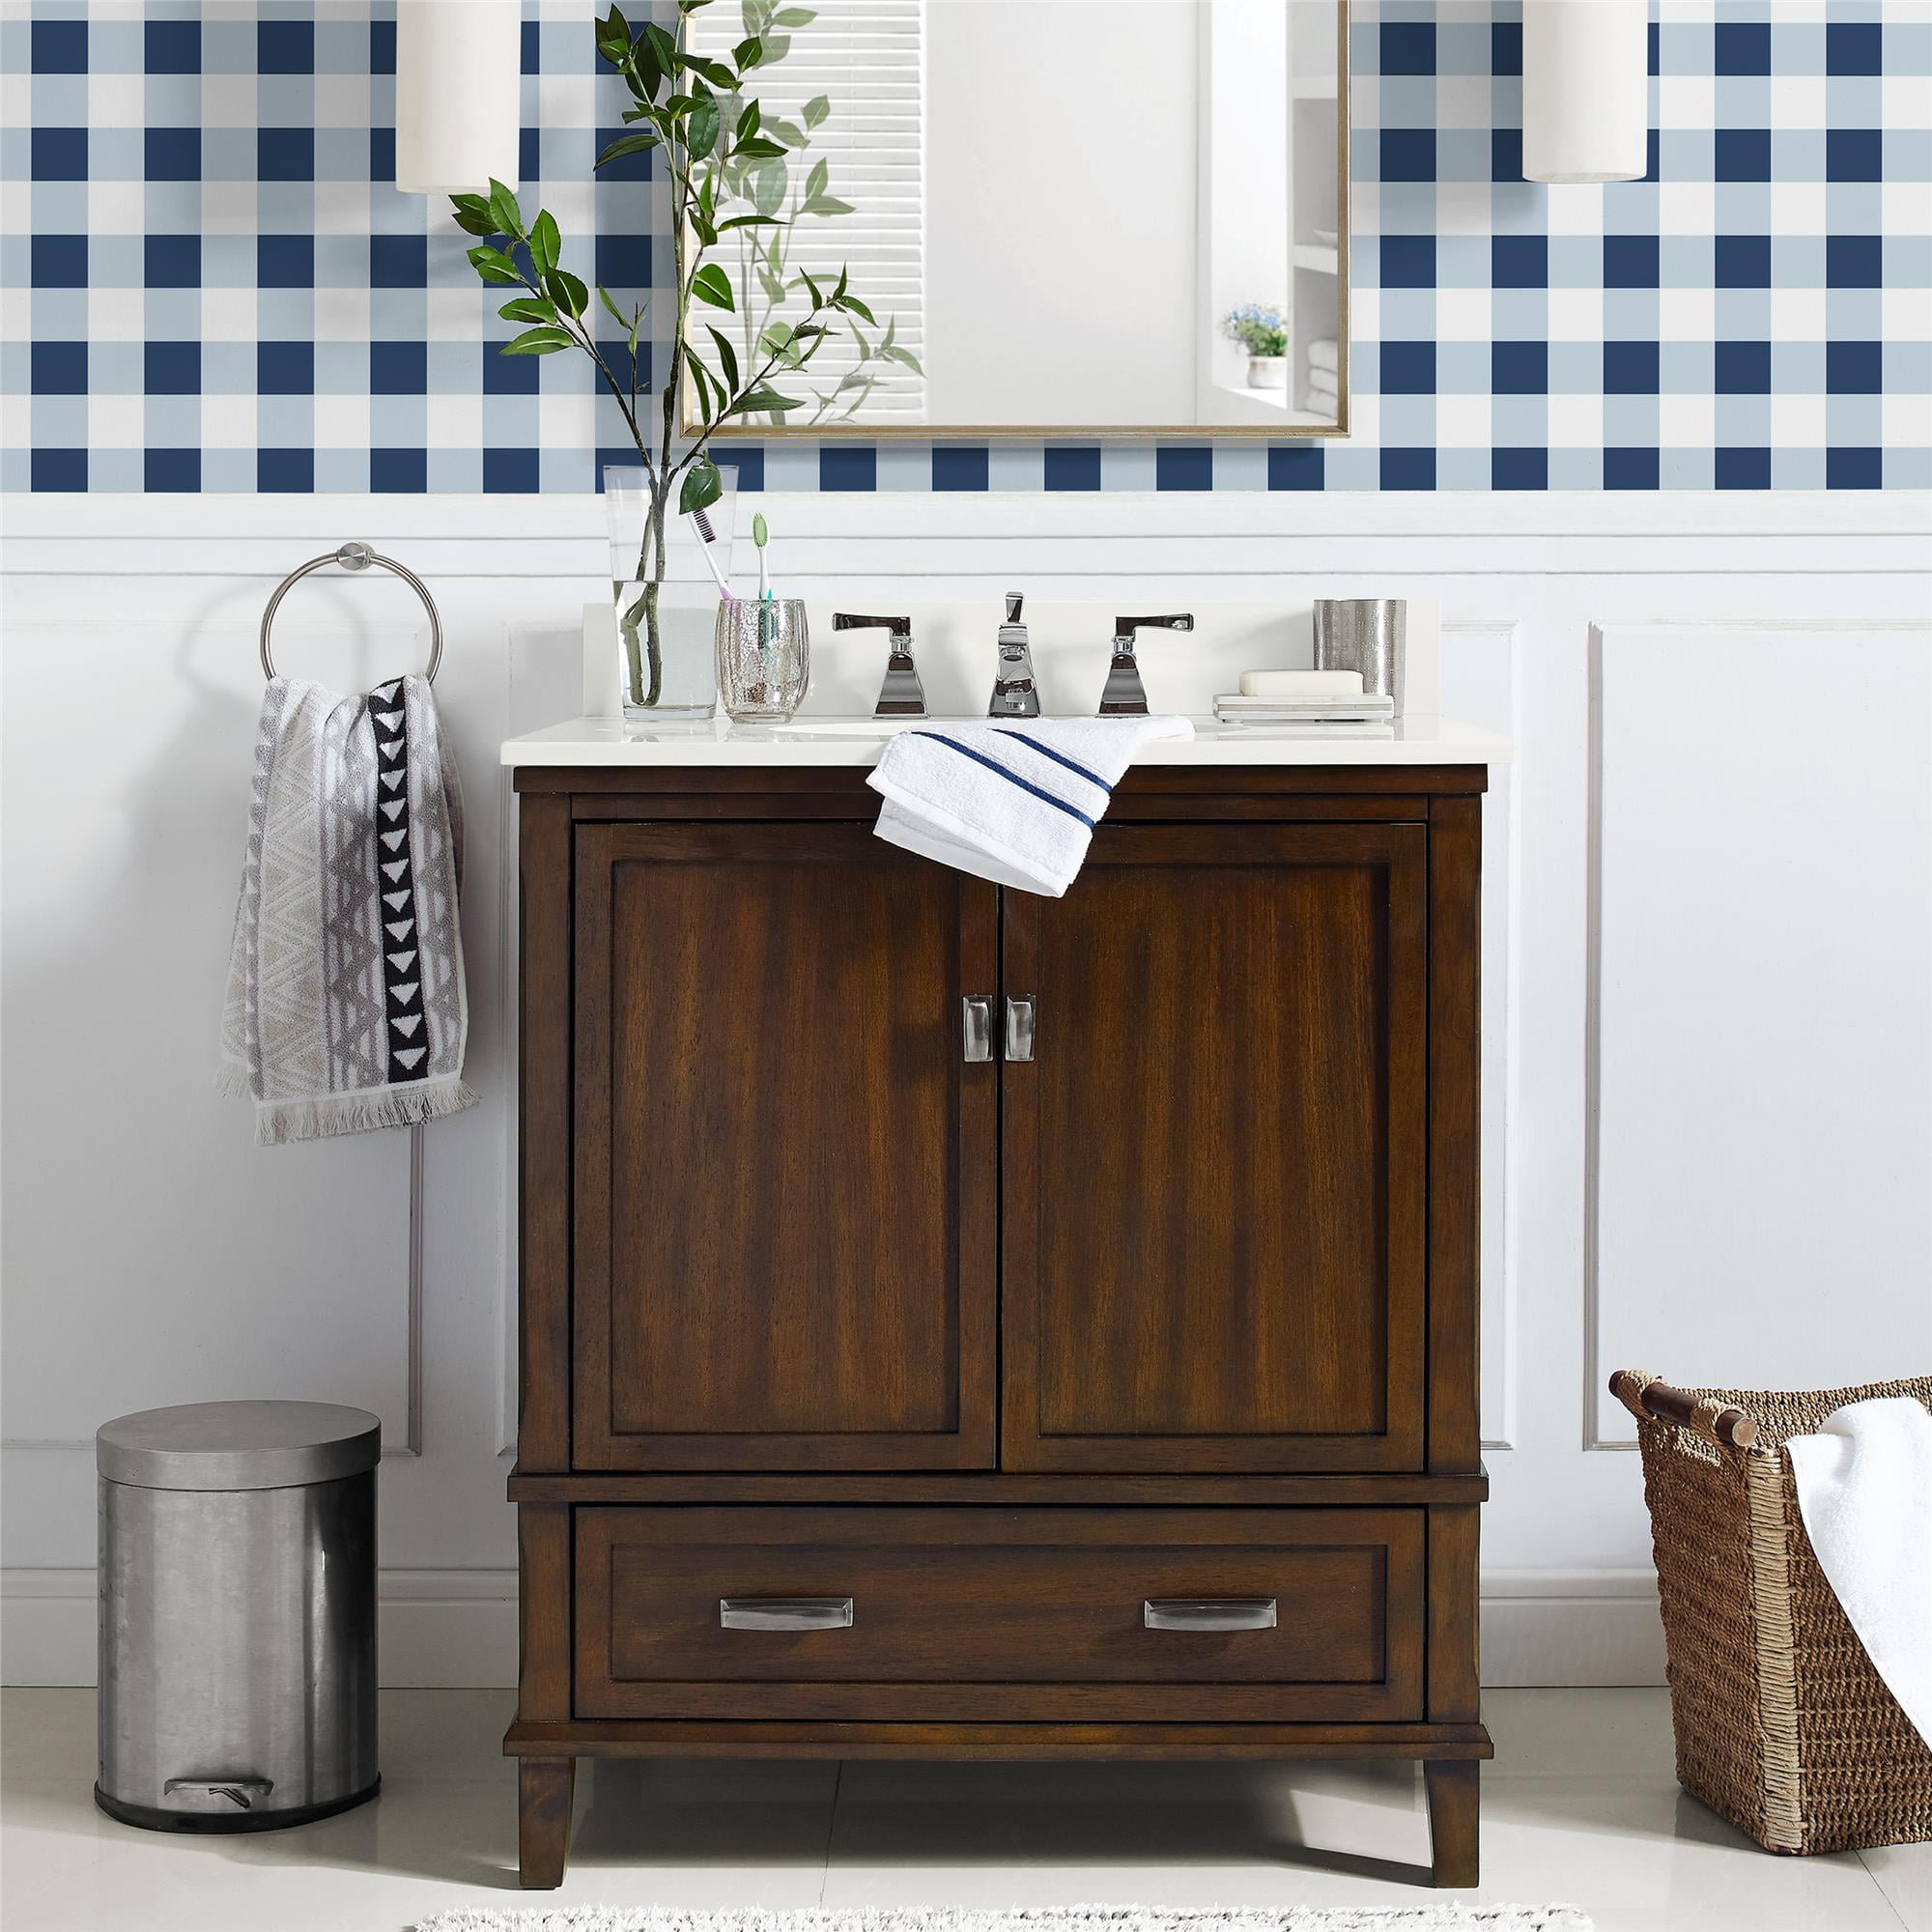
DHP Otum 30 Inch Bathroom Vanity with Sink, Dark Walnut Wood
"This will help the dark wood vanity feel more current and harmonize with the overall design of the bathroom," Jackie says. Lighter Stains for a Contemporary Feel: For those seeking a stained wood vanity but are apprehensive about going too dark and bold, consider selecting a vanity made from maple. "Maple wood will pick up a stain better.

Custom House Master Bathroom Vanity, stained knotty alder wood
Step 14: Add Cabinet Protectors. The last step is to add plastic drawer and door protectors on the inside to limit the banging of the drawers and doors. We recommend doing this about 5-7 days after you have finished painting the cabinets. Don't forget this step. It will make your new paint job last.
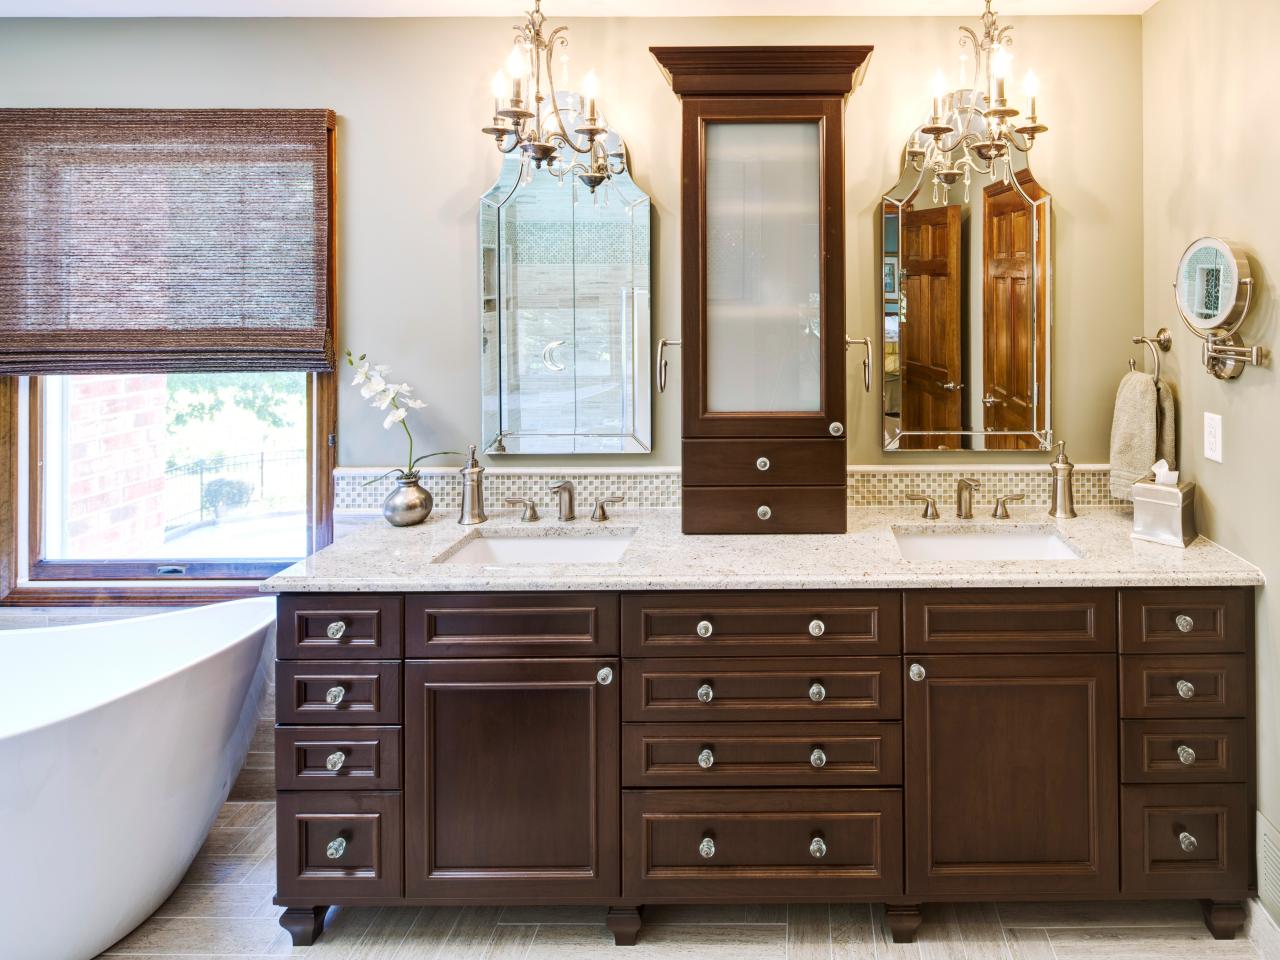
Photo Page HGTV
Step #1: Clean and Prep Your Space. Remove all items from your bathroom vanity and thoroughly clean the cabinets and the surrounding area using a damp cloth and degreaser if necessary (if you use a degreaser, make sure you rinse with fresh water afterward to keep the surface contaminant-free).
Stained Bathroom Vanity
An original overhead soffit, tile countertops, fluorescent lights and oak cabinets were all removed to create a modern, spa-inspired master bathroom. Color inspiration came from the nearby ocean and was juxtaposed with a custom, expresso-stained vanity, white quartz countertops and new plumbing fixtures.
Master Bathroom Vanity Makeover Plans Centsational Girl
Step 5: Brush & Roll on a Bonding Primer. The next step is to brush and roll on the bonding primer. Since my bathroom vanity was previously stained and coated with a glossy polyurethane, I chose Sherwin-Williams Extreme Bond Primer which is made for adhering to hard to stick surfaces. It truly sticks to anything - I highly recommend it!

Guest Bathroom Oak Vanity Makeover with Chalk Paint Whimsical
From removing the old stain to applying a new finish, you'll learn all the tips and tricks to reviving your bathroom vanity. 1014 35th St. Galveston, Texas 77390 Mon - Sat: 9:00am-18:00pm.

Pin on Bathrooms by Dishington Construction Inc
Before priming, a quality wood filler/putty should be used to patch holes or imperfections in the surface. Using a brush, edge a coat of primer to all exposed areas of the bathroom vanity. Then use a roller to finish. Let dry for about 2-3 hours. 6. Paint. Brush or roll on the first coat of paint and let dry.
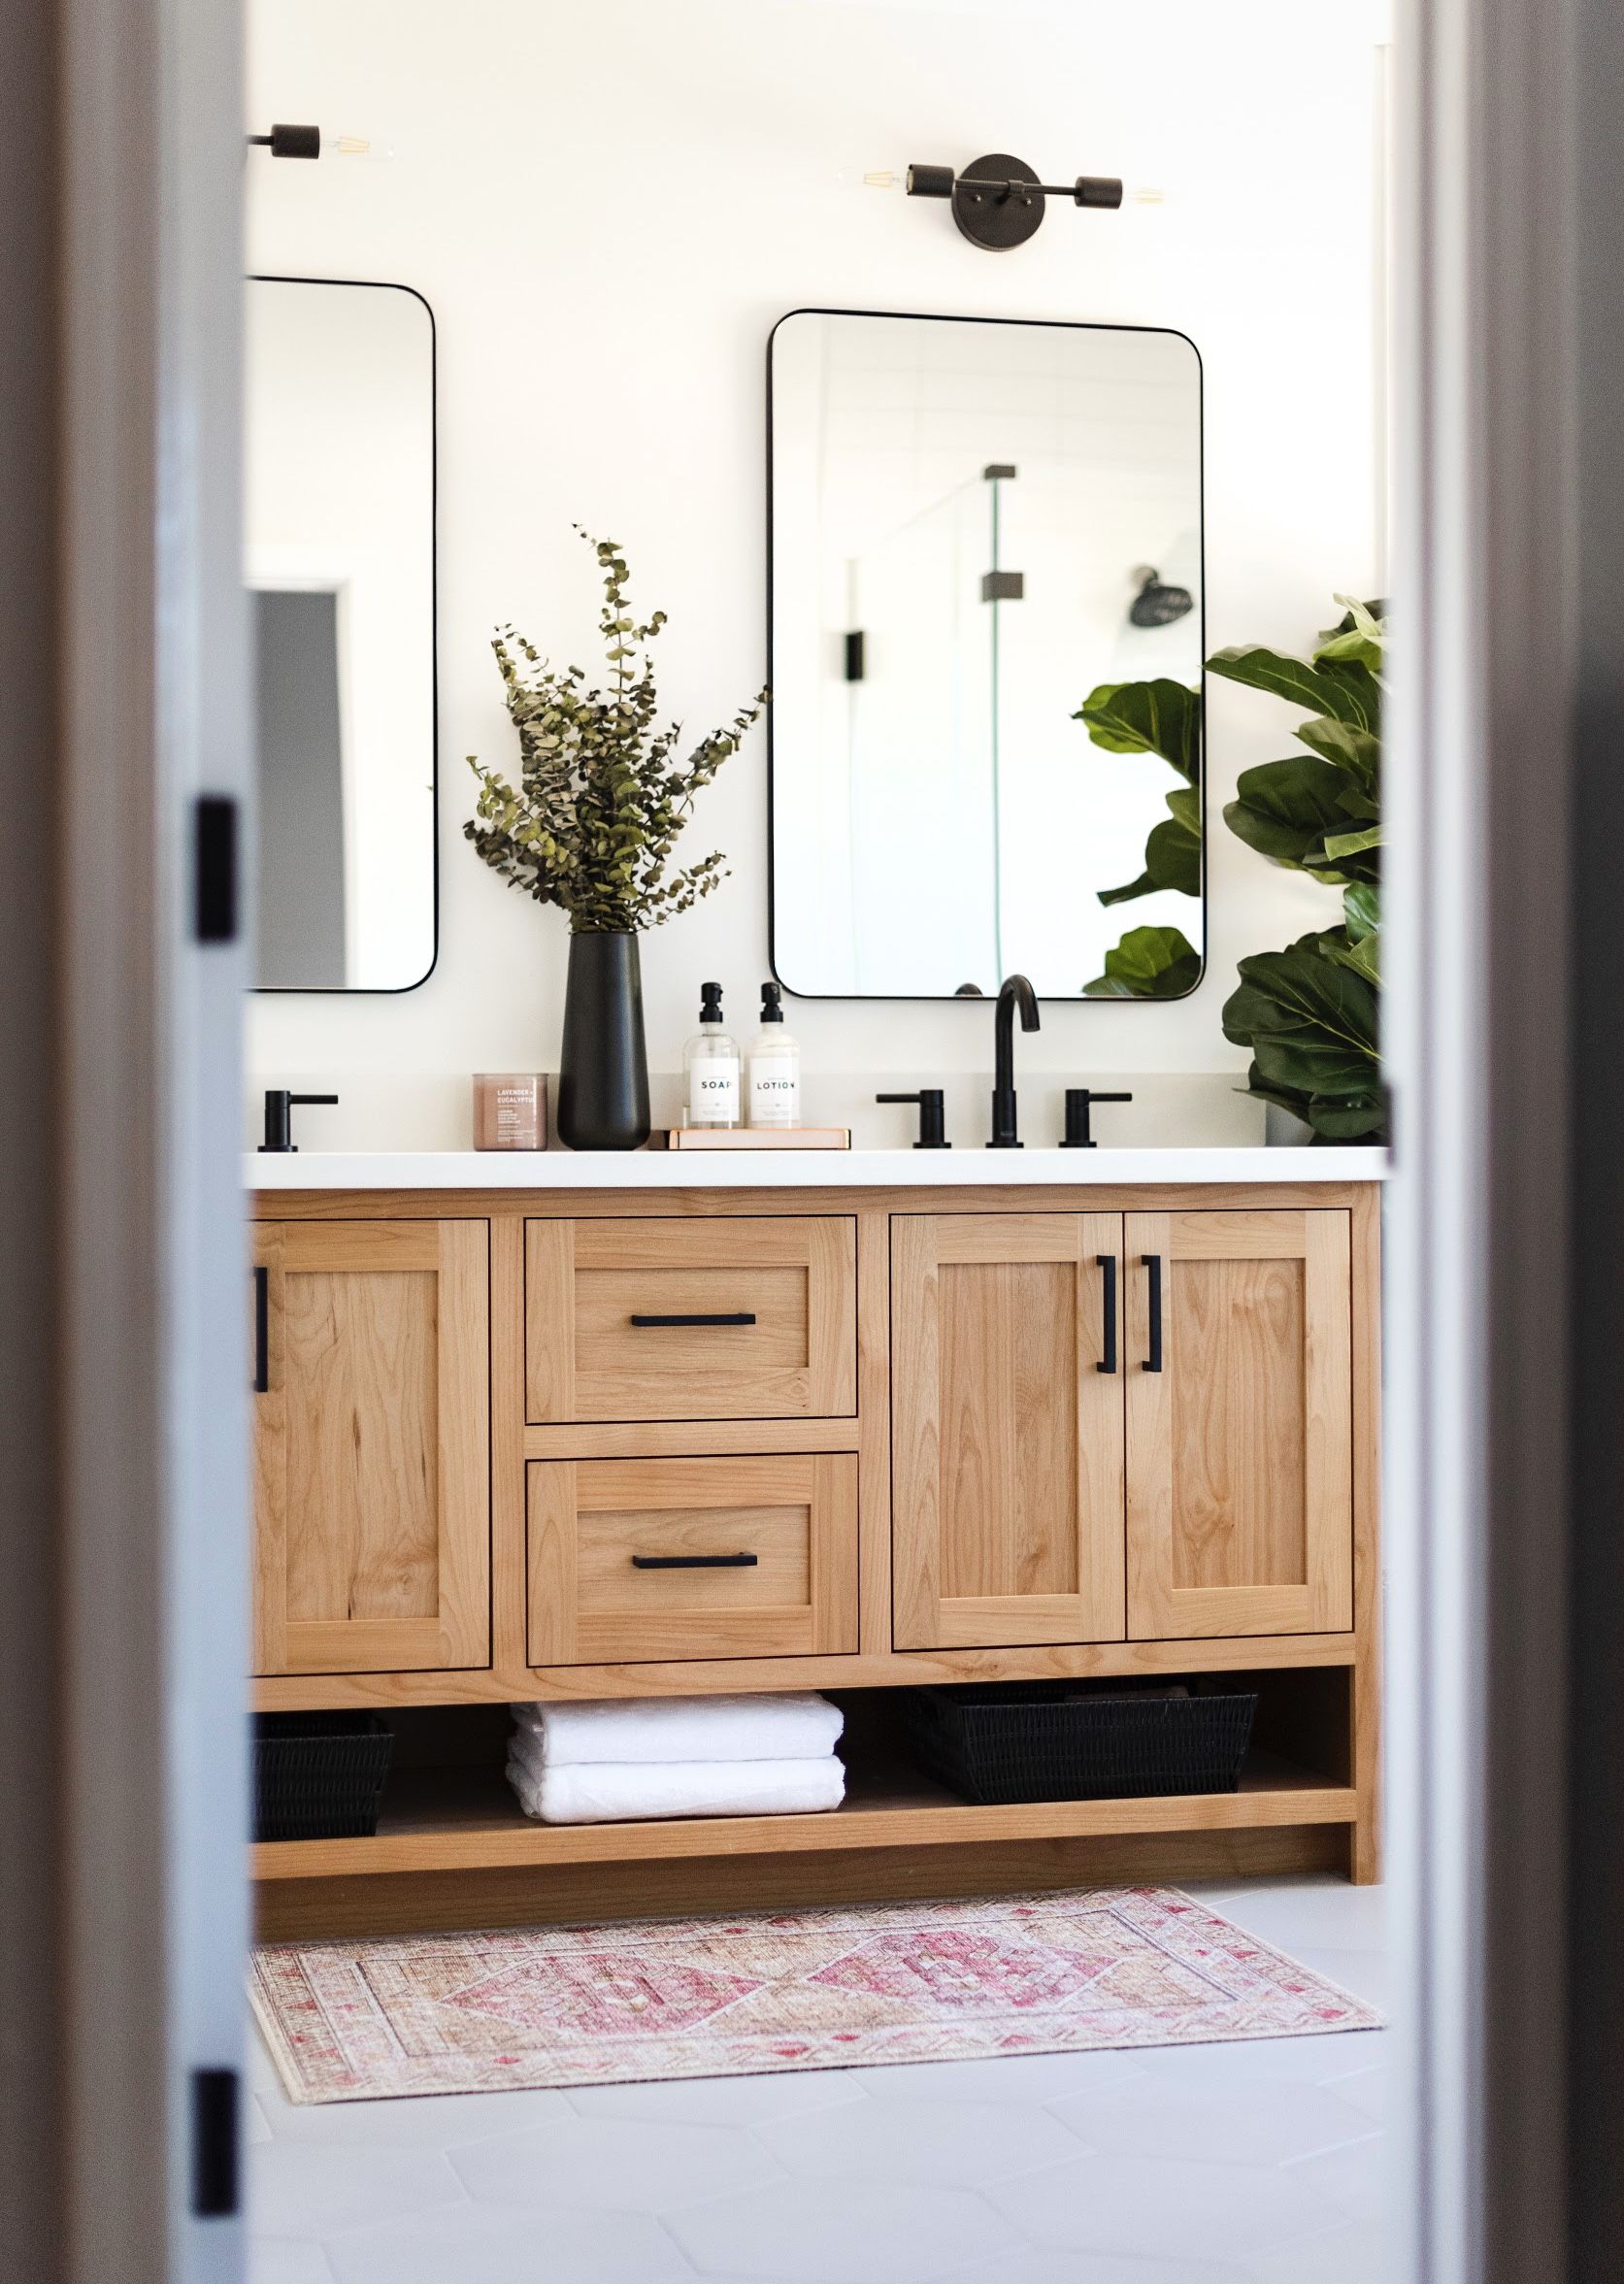
Natural Wood Bathroom Vanity HMDCRTN
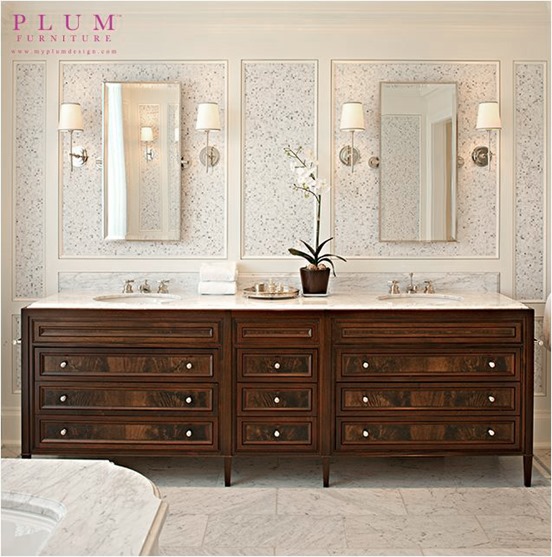
This bathroom vanity from normandyremodeling features a mahogany stain that gives it a rich, warm appearance. When working with stains this dark, focus on lighter or cool colors. While dark colors can work with rich stains like this, a lighter one will create a lovely contrast and a more neutral color palate. 08 of 09.

Custom vanity Etsy in 2020 Custom vanity, Brown bathroom vanity
Work the vinegar into your vanity in circular motions. Allow this to sit overnight and then rinse your vanity clean with warm water in the morning. For a less hard-wearing vanity material, such as natural stone or glass, combine equal parts vinegar and warm water in a spray bottle. This can be sprayed on hard water stains and then left to sit.

Wood Bathroom Vanities Centsational Style
Designed to protect walls from splashes and stains, this backsplash will also give your vanity top that stylish finishing touch. Made of engineered stone it installs easily using a caulking or construction adhesive. It is the perfect accessory for your vanity top. At 0.7 in. thick, the engineered stone is durable and high in quality.

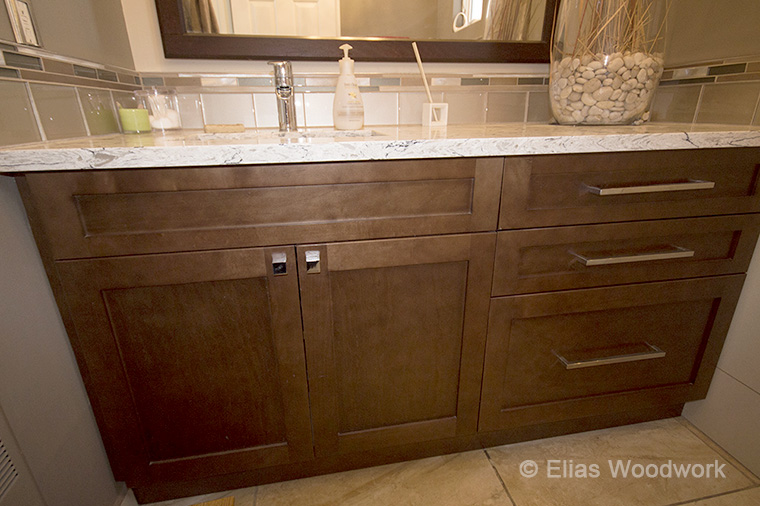
Furniture Style Vanity with Gray Stained Shaker and Bunn Feet
Take an unfinished vanity cabinet and learn how to stain and install it yourself! More details and links to products seen on my blog! https://checkinginwithc.
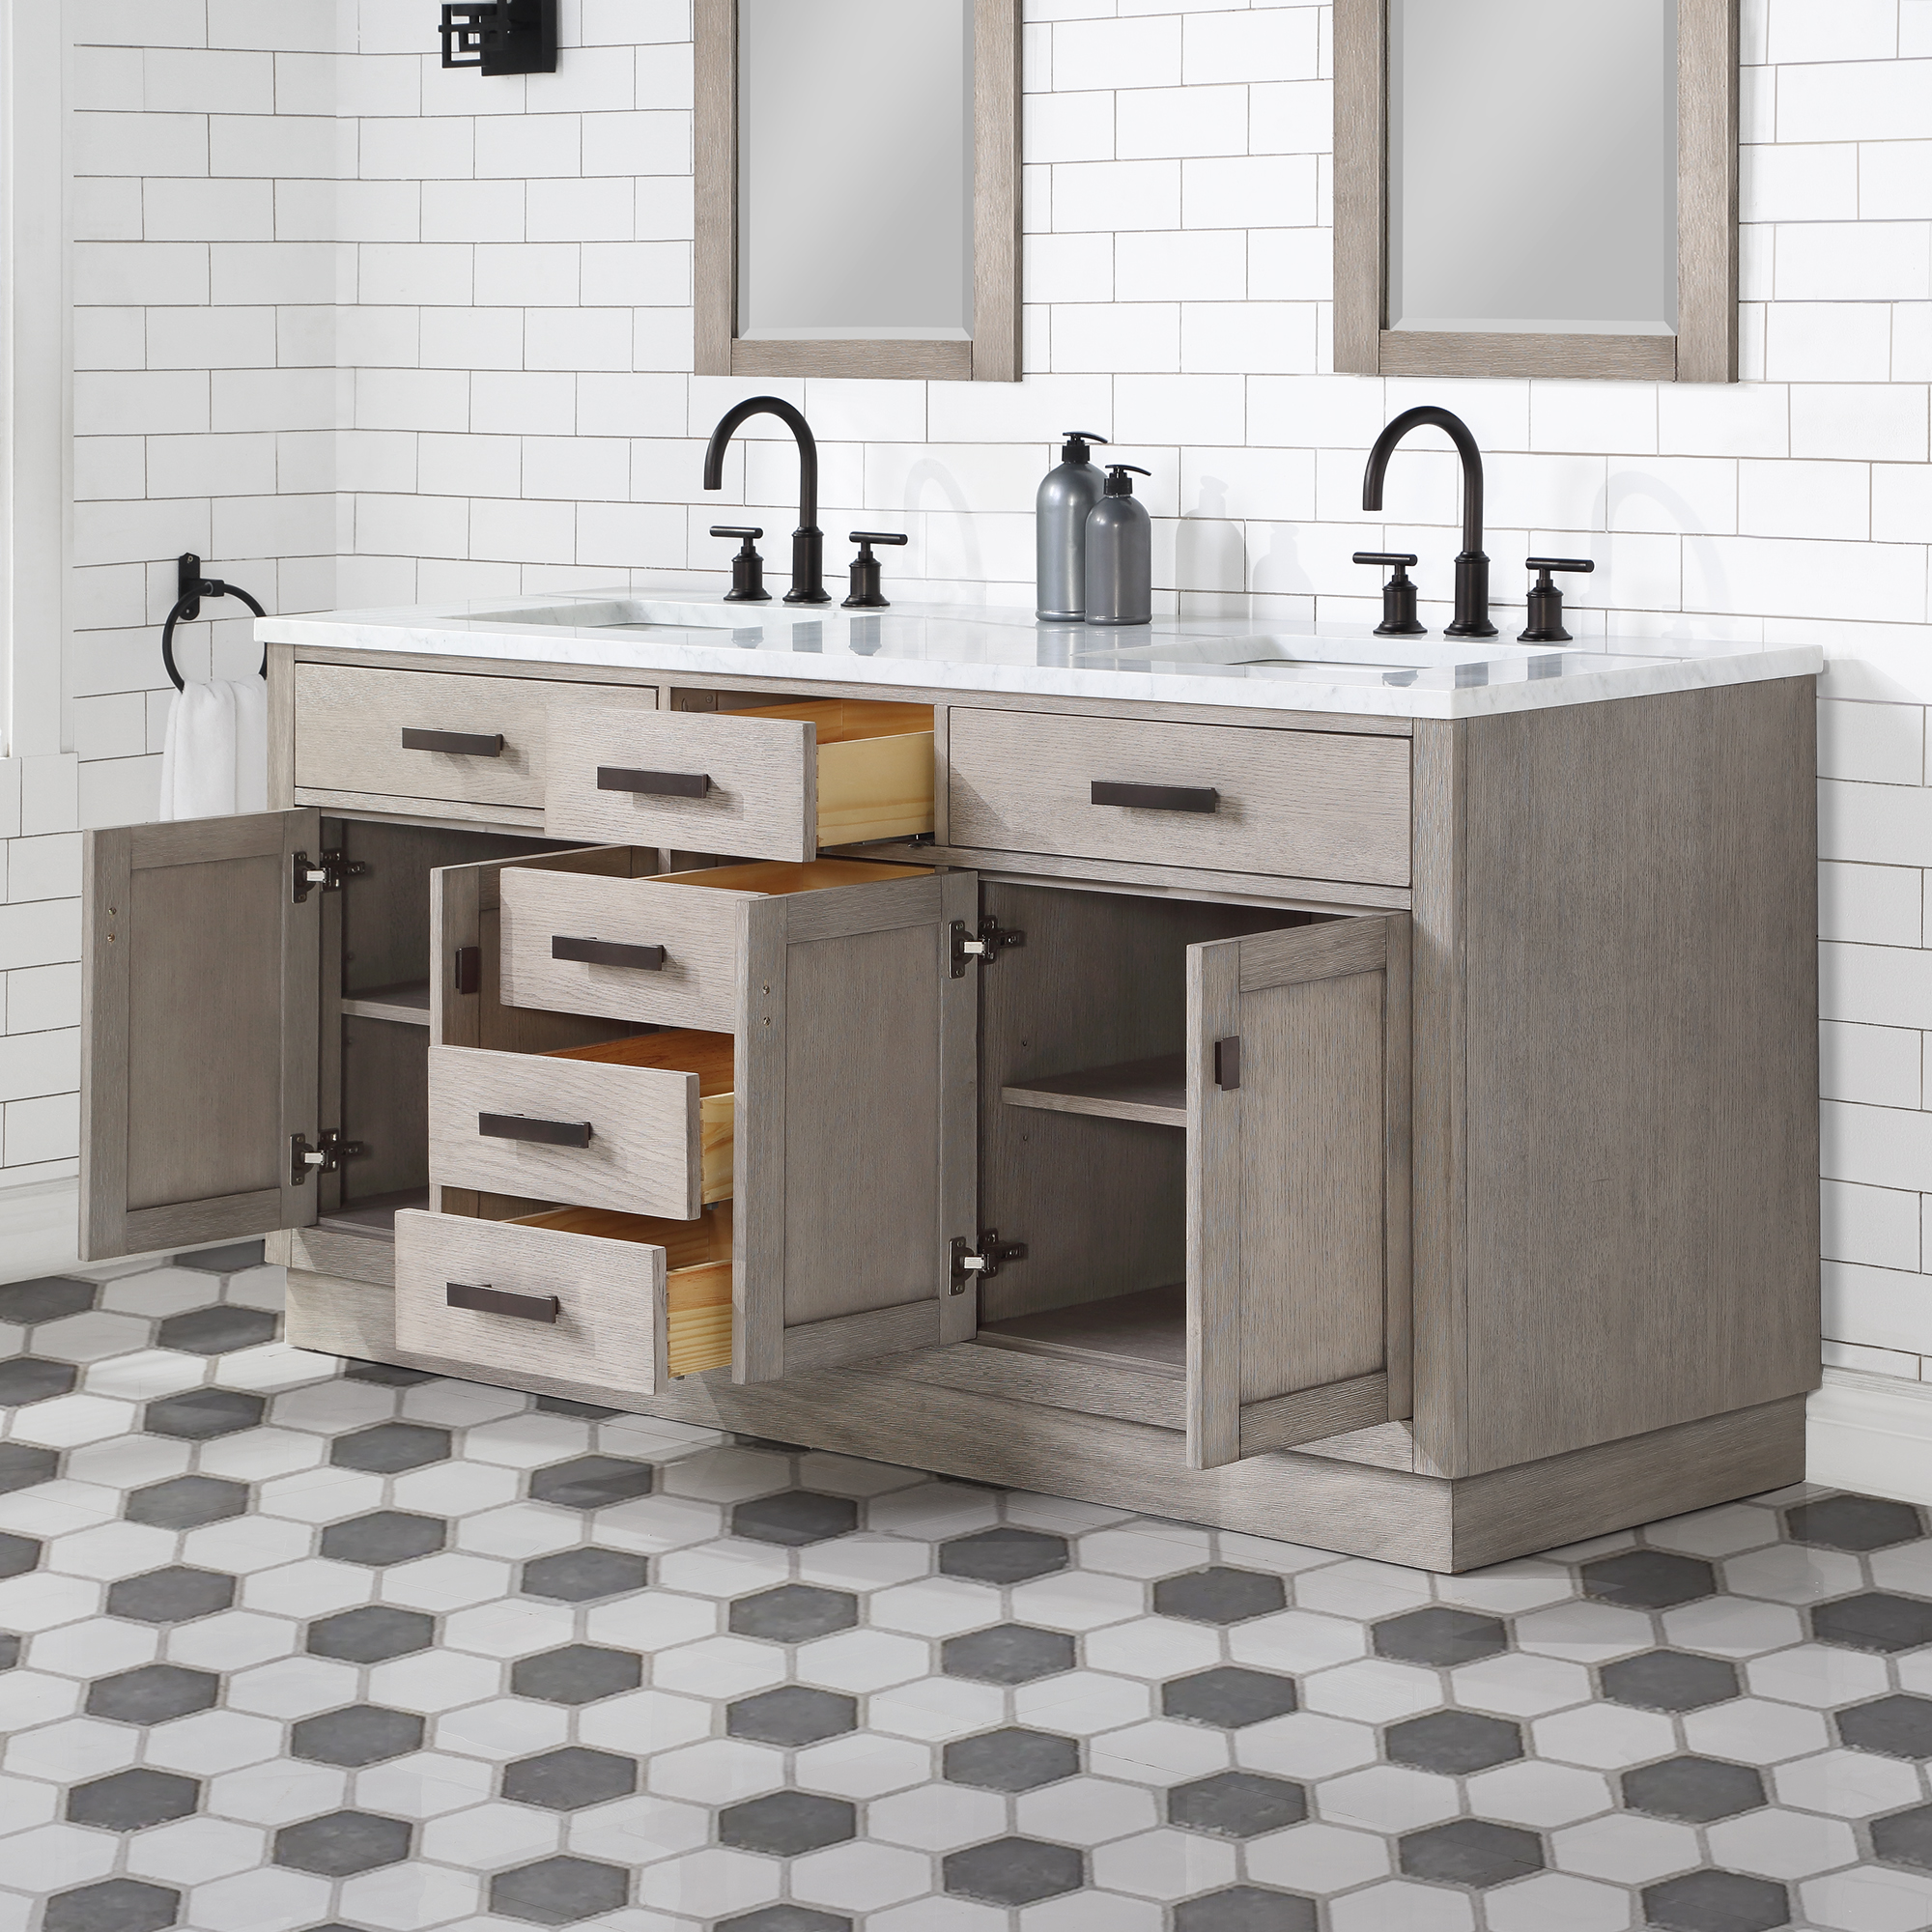
Solid Hardwood 72" Double Bathroom Vanity, Distressed Grey Oak Finish
Step 4: Apply Primer. Applying primer to your bathroom vanity cabinets is an essential step in achieving a smooth and durable finish. Primer creates a solid base for the paint or stain and helps it adhere better to the wood surfaces. It also helps to prevent any stains or discoloration from bleeding through.

20+ Bathroom Vanity With Makeup Area PIMPHOMEE
Gel stain application technique: put it on heavy, smear it around around in circles and then wipe in the direction of the grain. Don't let it pool too much in the corners and crevices. Before and after: bare vanity door on the left, one coat of Minwax gel stain in "Walnut" on the right.

This master bathroom, renovated on HGTV's Brother Vs. Brother, was
Stain the cabinet fronts by applying gel stain on a sponge brush, with light and even strokes to avoid getting stain on the insides. Stain the front of the cabinet doors with light and even strokes to avoid clumping. Let the first coat dry, and apply one or two more coats as needed. (The color soaked in well, so I only needed 2 coats.)